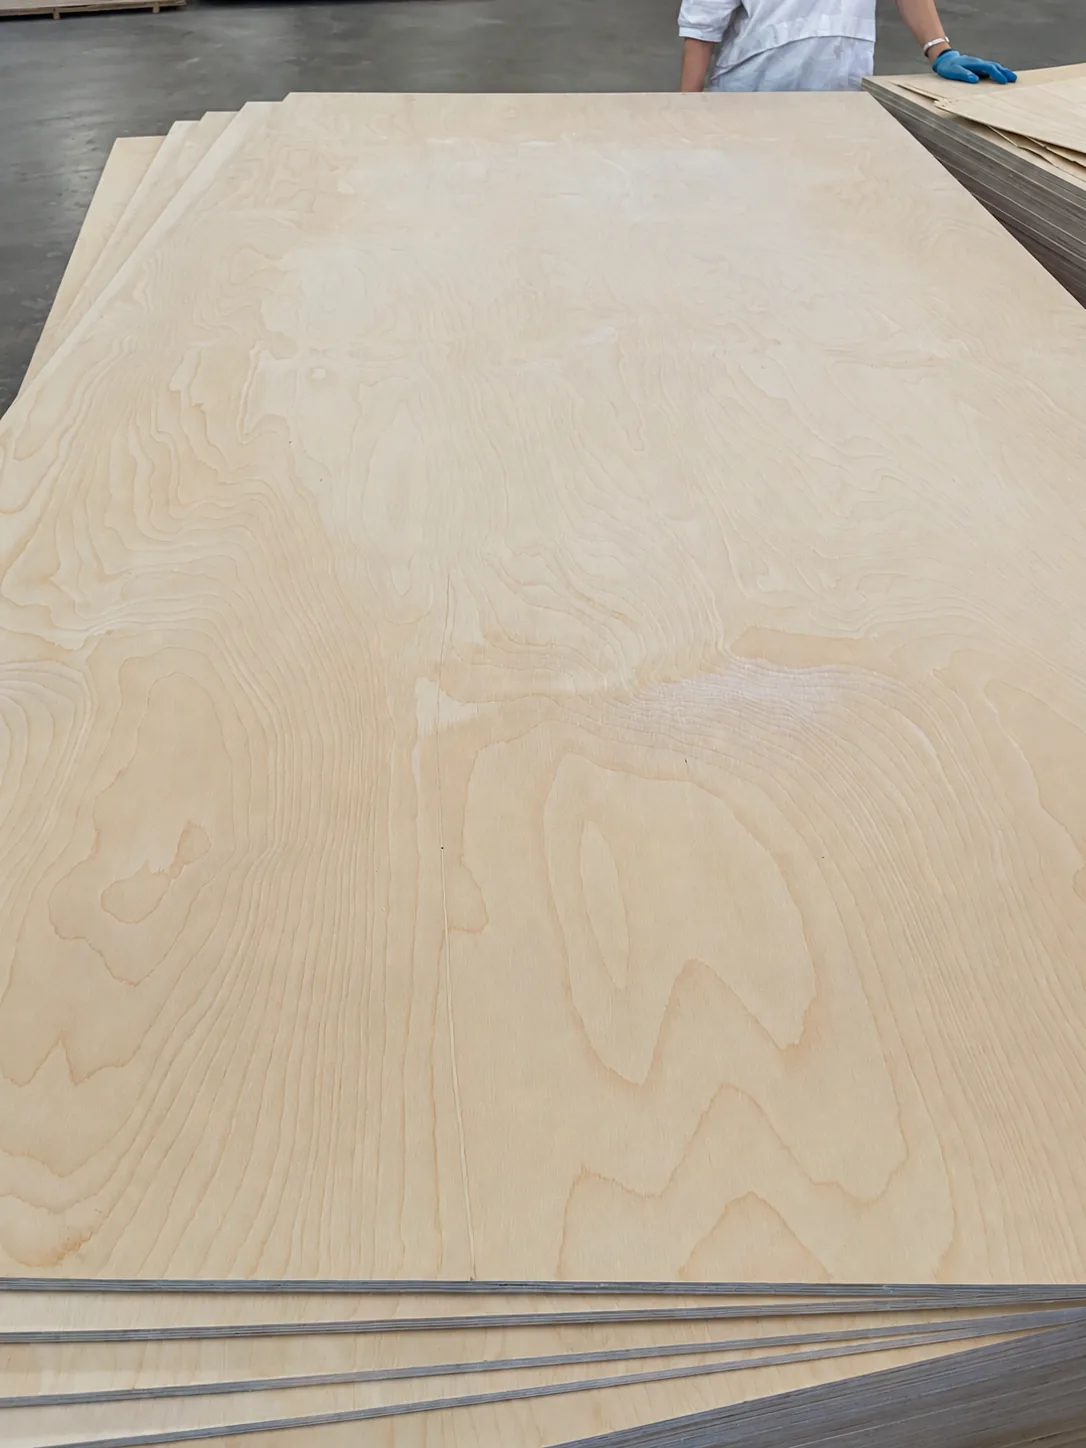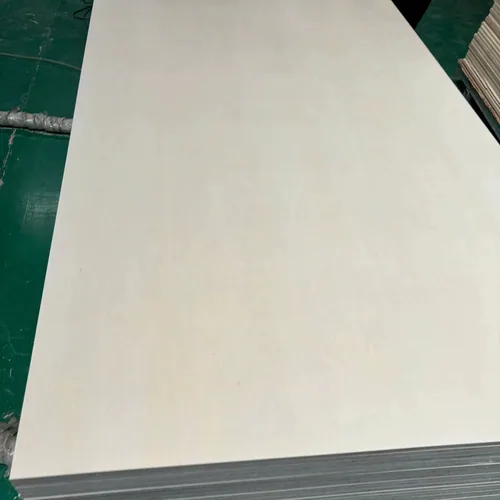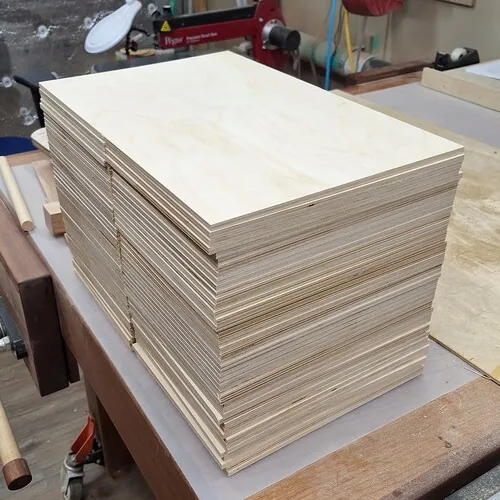
FROM A DETAILED DRAWING TO A WORKABLE PART
Start with the smallest detail in your assembly.
A narrow rib, a clean slot or a closely fitting joint can decide whether your design works. Choose the plywood around those details, then try the complete part in your workshop.
Bring CUZI the drawing, intended use and cutting method. Mark the face-grain direction, smallest bridge and mating features. We can discuss the proposed veneer construction and sample with the thickness and finish your component needs.
Keep the material, drawing revision and cutting setup together. Your team can then compare panels against the same part, retain the selected sample and quote repeat quantities with a clear item reference.
Choose a construction your workshop can compare.
Specify the veneer construction, thickness and fit your component needs. CUZI can quote the panel, finished tolerance and sheet size together.
Scroll horizontally to compare all columns.
| Requested construction | Describe the complete panel | Request a comparable item |
|---|---|---|
| Thin three-ply construction | Target drawing gauge; face, centre and back species/gauges; grain sequence; bond and permitted internal features. Ask for the offered nominal and measured thickness range. | Check the grain direction, narrow web and critical slot against the same part drawing. Discuss a three-ply model panel |
| Fine veneer / more-ply construction | Required layer count and individual veneer gauges within the total panel thickness; species, layer order, grain sequence and internal-quality limits. | Compare the proposed lay-up, mass and finished feature against the same cutting/assembly requirements. Compare a precision veneer lay-up |
| Birch throughout the panel | Birch face, back and all inner veneers requested; complete veneer schedule, required dimensions, bond and applicable material specification. | Identify the actual panel model and trial it with the agreed feature and fit. Request a birch construction trial |
Connect veneer construction to the finished part
Specify the species, ply count, individual veneer thickness and grain arrangement with the overall panel thickness. Include internal-quality requirements for narrow sections and joint areas. Ask for a sample containing several of your critical features so the trial reflects the cutting nest you intend to use.
DESIGNED AROUND THE PART YOU MAKE
Model ribs, precision housings and intricate cut components.
Scroll horizontally to compare all columns.
| Component | What the trial should contain | Start with that part |
|---|---|---|
| Detailed models | Model rib or interlocking part; smallest bridge, slot pairs, holes and visible edge. Identify face grain, assembly adhesive and final finish. | Use repeat features from marked sheet locations. Request a detailed-model sample |
| Precision housings and fittings | Mating component, drawing revision, machined outline/holes and fit requirements. Compare dimensions at the same assembly/finish stage. | Try the proposed panel with the actual adjoining part. Request a precision-fitting trial |
| Design prototypes | The feature being resolved: geometry, appearance, joint, process or a specified component property. Keep the selected construction and trial record together. | Trial a repeatable feature rather than relying on a face swatch. Request a prototype feature trial |
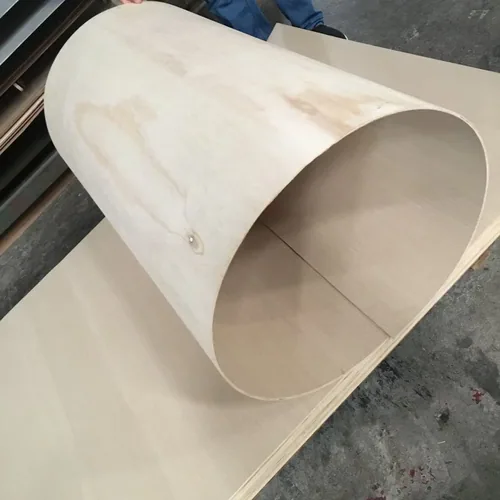
For a curved skin or wrap, explore the bending plywood guide and keep the flexible skin on its own material line. For another flat component, compare the required lay-up and fit with birch plywood.
Specifications
Supply specifications
Regular sizes mm · width × length
On request
Other sheet sizes and cut-to-size panels on request.
| Thickness | Nominal thickness to your specification; finished thickness and tolerance quoted with the panel construction.Discuss finished thickness and tolerances → |
|---|---|
| Panel | Plywood for model ribs, precision components and detailed cut assemblies. |
| Veneer construction | Species, ply count, individual veneer thickness, grain arrangement and bond requirement identified for the proposed item. |
| Fit & internal quality | Required thickness tolerance, mating clearance and limits for voids or repairs at critical features. |
| Cutting & finish | Drawing-led trial using the intended cutting method, assembly adhesive and final surface treatment. |
| Material documents | Product identity and required specification, test or traceability records for the component use. |
Details for your application
Put thickness, grain direction and joint fit on the same drawing.
Use the sheet formats below to plan the cutting nest. Add the panel construction and dimensional requirements that matter to the assembled part, with the material standard required for its intended use.
- Part & drawing
- Component use, drawing revision, finished outline, nesting layout and part quantities.
- Veneer construction
- Face and internal species, ply count, individual veneer thickness, grain orientation and bond requirement.
- Thickness & fit
- Nominal thickness, permitted variation, mating slot or joint clearance and measurement locations.
- Small features
- Narrowest web, smallest hole, internal corner, edge quality and any permitted repair or void limits.
- Process & finish
- Cutting method, equipment, assembly adhesive and final coating or visible surface reference.
- Order & records
- Required material documents, sample identity, sheets or blanks by item, pack support and destination.
Use the thickness measurement plan to agree locations, instrument and panel condition. For cut blanks, include the machine-bed dimensions, trim allowance and grain arrows in the cutting list.
Bring the tolerances your assembly requires. Ask for the proposed lay-up, thickness and product data together so the sample and quotation describe the same material.
CHOOSE THE ROUTE THAT FITS YOUR WORKSHOP
Build a model, develop a part or plan repeat production.
Begin with the feature holding up the material choice. Give the sample a specific job, then connect the result to the construction and quantity you want to buy.
Keep thin-sheet units precise.
These are drawing conversions for an inquiry. The quotation identifies the proposed nominal gauge, available construction/format and finished tolerance for the part. State your own metric requirement when the drawing uses another thickness.
Scroll horizontally to compare all columns.
| Drawing gauge | Literal millimetre conversion | Bring the required fit into the offer |
|---|---|---|
| 1/32 inch | 1/32 × 25.4 = 0.79375 mm. Keep the required lower/upper limits and finished joint detail with the drawing. | Ask which proposed nominal gauge and measured range meet your requirement. Discuss a 1/32-inch drawing |
| 1/16 inch | 1/16 × 25.4 = 1.5875 mm. Reconcile the drawing gauge with the offered finished panel and mating-slot requirement. | Carry the exact drawing reference into the sample/data discussion. Request a 1/16-inch fit trial |
| 1/8 inch | 1/8 × 25.4 = 3.175 mm. Identify the actual construction and finished range for the component. | Compare the offered gauge and any alternative against the same fit criteria. Discuss a 1/8-inch panel |
Build a detailed model
Try the smallest bridge, slot and visible edge in the proposed sheet. Review the assembled detail with its intended adhesive and finish.
Plan the model sampleDevelop a precision part
Bring the drawing and mating component into one trial. Compare the lay-up, thickness variation and fit at the critical features.
Prepare the part trialPlan repeat production
Retain the material and drawing references with your cutting setup. Quote the sheet mix and quantities around the item your workshop has selected.
Plan your next batchCOMPARE OPTIONS
Your selection at a glance
Construction & grain
Connect veneer species, ply count, individual veneer thickness and grain direction to the component drawing and intended use.
Cutting & fit
Trial slots, small holes, narrow webs and visible edges. Keep measured thickness, cutting setup and assembled fit with the sample.
Cost & repeat supply
Compare usable parts, machining and finish against the same component. Retain the material, drawing and process references for repeat quotations.
PRODUCT INFORMATION FOR YOUR COMPONENT
Give the material a clear place in the drawing pack.
Request data for the panel being quoted. Share the component use and destination, together with the construction, thickness tolerance and material standard your team needs to review.
Scroll horizontally to compare all columns.
| Buying decision | Information matched to the proposed item | Request the relevant file |
|---|---|---|
| Lay-up and dimensional fit | Panel model, face/inner species, veneer gauges/ply order/grain sequence, bond requirements and measured thickness/format/tolerances with methods and conditions. | Link the proposed construction with the drawing and sample. Request precision panel data |
| Cutting and assembly process | Panel/adhesive/facing identity, relevant machining/bonding/conditioning instructions, actual equipment/process, assembly adhesive and complete finish. | Use the applicable equipment guidance and record the actual edge/fit trial. Request workshop process information |
| Required material standard | Buyer-named specification/edition, required performance/test information, covered model/gauge/construction and sample/order/lot identity. | Request the item file against the intended component use. Request specified material information |
| Specified aircraft hardware | Responsible designer/manufacturer’s material specification, required eligibility/release/traceability and acceptance records for that aircraft component. | Review that application-specific material file before selecting flight-use material. Discuss a specified aircraft requirement |
For models and prototypes, share your cutting and assembly requirements. For installation on an aircraft, include the applicable material specification and the release and traceability documents required for that aircraft.
Keep those documents with the selected item and drawing revision. A material change can then be discussed against the same fit, process and intended use before another batch is ordered.
Include the material requirements for an aircraft component
For an aircraft component, send the material specification and traceability and acceptance requirements from the aircraft manufacturer or designer. The FAA’s guidance explains eligibility, quality and traceability for parts used in US type-certificated aircraft. See guidance on aeronautical parts and materials.
Product data & reports to request
Request a technical data sheet covering:Request the required species, veneer lay-up, bond, dimensions and tolerances against the drawing revision.Include these specification details:- Veneer species, lay-up, grain arrangement, bond information and dimensional tolerances.
- Product and sample identification, with the test or material records required for the component.
- Applicable machining, bonding, conditioning and finishing information for the proposed panel.
Company documents to view
FSC chain of custody Wood panels · purchase & salesISO 9001 & ISO 14001 Management systems · stated sales activitiesView our company certificates alongside the technical data for your selected panel.Precision & aircraft-related components: what to match
- Material specification
- Request the required species, veneer lay-up, bond, dimensions and tolerances against the drawing revision.
- Traceability
- Specify test reports, batch identification and material records required for the component.
- Aircraft use
- For aircraft components, include the applicable material standard and the responsible designer’s acceptance requirements.
BEFORE YOU ORDER
Ordering information
- Minimum order
- 1 container
- Production time
- 7–15 days
- Samples
- Free samples
- Delivery terms
- FOB Qingdao / Lianyungang
Sample freight & order notes
- Minimum order: Mixed loads available.
- Production time: Made to your order; sea transit is additional.
- Samples: Buyer pays freight; full credit on a formal order.
- Delivery terms: Container shipping by sea.
MAKE THE SAMPLE DO USEFUL WORK
Cut the detail. Assemble it. Keep the result.
Request a free sample with the required thickness, lay-up and component drawing. Include enough area to repeat the small features that matter to your assembly. You pay sample freight, which is credited in full against your formal order.
- Map the panel and drawingLabel the sample and cut layout. Record thickness at the agreed positions, face-grain direction, panel condition and drawing revision.
- Cut a representative nestUse the intended workshop process. Retain slots, small holes, narrow webs and visible edges, with their location on the sample.
- Review the finished assemblyTry the actual mating parts, adhesive and finish. Record fit, appearance and usable parts; keep the selected material and process references for the order.
Prepare a laser-cutting trial
Discuss the proposed panel and adhesive with the equipment supplier and use the applicable operating and extraction instructions. Evaluate edge finish, cutting behaviour and the completed part on that specific material and setup. Keep the material identity with the process record when considering another panel or batch.
KEEP THE MATERIAL READY FOR YOUR CUTTING PLAN
Support the sheets. Keep the item labels clear.
Discuss flat support, face and corner protection, pack dimensions and unloading limits with the order schedule. Label different thicknesses and constructions separately, especially when a mixed load will feed several workshop items.
Use the panel storage and conditioning guide alongside the offered material instructions. Keep pack and material references with the receiving record. Check quantity, visible condition and handling damage before nesting parts, and follow the conditioning information applicable to the proposed panel.
Request FOB at the shipment port or CIF at the destination port. Include your destination and receiving requirements with the target arrival and production start.
SUPPLY FOR THE PARTS YOUR WORKSHOP BUILDS
Plan the sheet mix around your production range.
Orders begin at one container, with mixed loads available. List the construction, thickness, sheet or blank size and quantity by item. Connect each line to the selected sample and component drawing.
Model and prototype workshops
Start with a representative part that settles the material choice. Keep successful and rejected features together while reviewing the trial, then use the selected construction for the production quotation.
Repeat component manufacturers
Use the repeat-order change record for a revised material, drawing or cutting setup. Keep the selected component and material file with its item code.
Retain the material item, drawing revision and cutting setup with the finished assembly. Include any changed finish, adhesive or fit requirement in the next inquiry so the repeat order has a clear specification.
Compare the cost of usable components
Compare offers against the same sheet construction, cut layout and finished-part requirement. Include usable area, trial yield, machining and finishing work with the panel price and delivery terms. Keep proposed alternatives on separate quotation lines until the workshop has evaluated them.
A SLOT-FIT MODEL TRIAL YOUR TEAM CAN SHARE
Test the joint with the part that fits into it.
A model uses tabs from one part and slots in another. Prepare several matching pairs from marked areas of the sample. Keep the drawing allowance, measured panel thickness and cutting setup beside each result.
Try the assembly with the intended adhesive and finish. Review the fit at the same stage for each pair, and keep any adjustments with the drawing revision. A retained assembly or checking fixture can then connect the next batch to the selected detail.
Put the panel reading beside the finished slot.
Geometrical clearance = slot width − mating panel thickness at the same assembly stage.
Using illustrative dimensions, 1.65 mm − 1.55 mm = 0.10 mm clearance before assembly adhesive or finish allowances. Enter your own measured dimensions and required fit in the trial record.
Keep individual readings at A1, A2 and A3, the bridge/edge condition at B and hole geometry at C. Record the tool/setup, grain direction and coating stage with each observation.
Request a slot-fit feature trialKeep each joint reading through machining and coating.
For a model-fit calculation, choose three measured pairs below. Assume a cured 0.02 mm coating on each of the two mating faces and on each opposing slot wall. Compare the part at these same positions after finishing; use your actual cured build and drawing fit requirement in the trial.
Scroll horizontally to compare all columns.
| Position | Machined slot / mating thickness | Before coating | With the chosen coating build |
|---|---|---|---|
| A1 | 1.65 / 1.55 mm | +0.10 mm | 1.61 − 1.59 = +0.02 mm |
| A2 | 1.63 / 1.59 mm | +0.04 mm | 1.59 − 1.63 = −0.04 mm |
| A3 | 1.60 / 1.62 mm | −0.02 mm | 1.56 − 1.66 = −0.10 mm |
Each coated result is the machined clearance minus 0.08 mm: 0.04 mm reduction across the slot walls plus 0.04 mm added across the mating faces. A negative value describes geometric interference at that position. Positive clearance still has to meet the assembly’s chosen fit, adhesive and complete finishing process.
The average machined clearance is +0.04 mm, and A3 has an interference fit. Keep each pair’s dimensions with its material, measuring position and drawing. This worked example shows how to review fit; use your own trial readings for production.
Check material, drawing and cutting settings
If the joint behaviour varies, compare thickness readings, cut dimensions and sample positions. For a damaged narrow web, keep its grain orientation and exposed internal structure with the observation. Change one identified detail in the next trial and record the revised construction or process before accepting the repeat item.
TURN THE TRIAL INTO A REPEATABLE ITEM
Keep material, machining and fit in one record.
The worksheet connects the drawing, panel and completed component. Use it to compare proposed materials and retain the construction and workshop setup your team wants to repeat.
| Check | Record during evaluation |
|---|---|
| Drawing & orientation | Component use, revision, face-grain direction, cut layout and critical mating features. |
| Panel & thickness | Sample identity, veneer lay-up, thickness readings, measurement locations and panel condition. |
| Machined features | Cutting method, setup, edge condition, slots, holes, narrow webs and exposed internal quality. |
| Assembly & finish | Mating-part fit, adhesive, coating, surface appearance and required component documents. |
| Usable parts | Parts evaluated, accepted and discarded, with locations and causes to review. |
| Selected item & repeat | Chosen construction, drawing and process references, agreed adjustments and next-order quantities. |
Review variable slot fit or a damaged narrow feature
Retain representative parts and offcuts with the sheet identity and cut orientation. Compare the drawing, measured thickness, mating dimensions and process setup. Record the feature that changed and resolve a material or drawing adjustment before the revised item enters production.
BEFORE YOU CHOOSE THE PRODUCTION MATERIAL
Your aircraft plywood buying questions.
What should I send for a precision-part quotation?
Begin with the part drawing, thickness, intended use, quantity and destination. Add veneer construction, grain direction, critical fit and any required material documents.
Which thicknesses and lay-ups can I request?
State the thickness, permitted variation, species and ply arrangement your component needs. Ask for the proposed panel and sample against those requirements.
Which sheet sizes should I put on the cutting schedule?
Regular plywood formats are 1220 × 2440, 1250 × 2500 and 1525 × 3050 mm. Formats including 1220 × 3050 and 1250 × 3660 mm, other sizes and cut blanks are on request. Discuss the required precision construction with your sheet schedule.
What should the sample contain?
Include repeated slots or mating features, the narrowest web and a visible edge. Keep enough area to compare those details at marked sample locations.
Can I trial a panel for laser cutting?
Provide the intended cutting process and ask for the panel and bond information. Evaluate the material on the specific equipment using the applicable instructions, then review the edge and assembled part.
How do I compare panels for slot-fit parts?
Use the same drawing and cutting setup for each proposal. Record thickness, cut dimensions and assembled fit with the actual mating part, adhesive and finish.
Can I compare it with birch plywood?
Yes. Compare the required lay-up, thickness tolerance, internal quality and intended use with the proposed birch plywood. Trial both constructions against the same component before choosing the item.
Are samples free?
Samples are free; buyers pay freight. Sample freight is credited in full against your formal order. Include your sample dimensions, intended trial and delivery country.
Can I mix constructions and sizes in one order?
The minimum order is one container, with mixed loads available. List the constructions, sheet sizes and quantities separately so the quotation follows your production range.
What lead time and quotation terms are available?
Regular production is 7–15 days; shipping time is additional. Request FOB or CIF with the named port, selected construction and planned receiving date, then confirm the order schedule.
What should I retain for a repeat order?
Keep the material and sample identity, drawing revision, cutting setup and finished-part reference. Include any changed specification or component use in the next inquiry.
Is 1/32 inch the same as a nominal 0.8 mm panel?
1/32 inch converts exactly to 0.79375 mm. Ask for the proposed nominal gauge and measured finished range, then compare those with the drawing tolerance and actual joint. Discuss your 1/32-inch requirement.
Is a higher ply count enough to choose the material?
Compare the species, veneer gauges, layer sequence, bond and finished dimensions as well as the ply count. Ask for the proposed veneer schedule and trial the same critical feature on each construction.
Does the product name make it eligible for aircraft installation?
An aircraft component needs the applicable material specification, eligibility/release and traceability required for its intended use. Send the designer or aircraft manufacturer’s requirements through the specified aircraft material request. Model and workshop trials address their own component and process requirements.
Should I set a universal laser speed or slot allowance?
Use the selected panel and equipment instructions, then measure the finished feature on your actual setup. Keep the panel/bond identity, cutting record, measured thickness and slot dimensions with the mating-part and finish trial.
Can I order cut blanks for my machine bed?
Send the bed/nest dimensions, trim allowance, grain orientation and quantities by blank. Request trial blanks before finalising the sheet schedule.
Does the name aircraft plywood mean it is approved for an aircraft?
An aircraft component needs the applicable material specification, traceability and acceptance requirements for that use. Send the responsible designer or aircraft manufacturer’s requirements with the inquiry so the proposed material and documents can be reviewed against them.
Which guides can help me choose this panel?
For this product, read Plywood thickness tolerance: prepare a measurement plan or Repeat plywood orders: keep revisions and substitutions visible. Use the panel comparison to compare your shortlist before requesting samples or a quotation.
LET'S PLAN THE PANELS FOR YOUR NEXT PART
Send the drawing or start with the detail.
Bring the thickness, component, quantity and destination you know. Open the outline when you are ready to add the lay-up, fit and workshop trial requirements.
Open the aircraft plywood inquiry outline
I would like a quotation for Aircraft Plywood.

Application / destination:
Thickness / sheet or finished part size:
Veneer lay-up / bond / material standard:
Drawing / grain direction / slots and critical features:
Aircraft-use documents or designer requirements, if applicable:
Quantity / mixed-load items / spares:
Samples or product documents needed:
Packing / FOB or CIF port / required date:
For another curved part, compare the construction in the bending plywood guide. Keep the drawing and material requirements together in the full RFQ.