
On this page
IN BRIEF
Choose the panel and fitting as one cabinet assembly
A good cabinet panel should support the finish, machining and hardware your design needs. Start with the actual door and cabinet side: identify the board construction, local thickness, hinge and mounting plate, then trial the installed assembly. This gives purchasing a repeatable combination to order and the workshop a setup it can reproduce.
- Check the recess and screw positions against the finished part.
- Compare candidate boards with a recorded installation and evaluation method.
- Carry the selected board, fitting and machining revisions into production.
UNDERSTAND THE DETAIL
MDF or plywood for cabinet hardware: start with the fixing detail
Specify the job the fixing must do. A hinge cup in a door face, a mounting plate on a cabinet side and a screw entering a panel edge have different geometry. Withdrawal, sideways loading, movement during repeated opening and the appearance around a recess are separate observations. Keep the fixing position and intended furniture use with the result.
Scroll horizontally to compare all columns.
| Cabinet detail | What to compare | Information for purchasing |
|---|---|---|
| Painted or routed door | Finish the face and routed profile; check the deepest recess and actual fastener positions. | Exact MDF model and finished thickness, coating stage, fitting and machining references. |
| Veneered door or layered edge | Review the face, exposed core and hardware recess on the proposed plywood construction. | Face veneer, core and lay-up, gauge, visible face and the selected hardware setup. |
| Cabinet side or connector | Reproduce the mounting plate, connector pocket or edge fixing on the actual supporting part. | Side-panel construction, local gauge, screw or connector model and fixing position. |
| A different installation method | Compare the complete revised installation with the original assembly under the agreed evaluation. | New fitting or pilot revision, its permitted substrate and the resulting assembly record. |
For MDF fixing, the European Panel Federation discusses screw geometry, pilot holes and fixing position. It also explains that comparisons of screw withdrawal need the same screw type and test method. Use this guidance to prepare the trial alongside the current instructions for your chosen hardware.
Reference: EPF: screwing into MDF.
Identify both sides of the hinge
Record the door-side hinge and attachment method, then the cabinet-side plate and its fasteners. Include the plate height, overlay or inset arrangement, opening angle and drawing datums. A successful door recess still needs the correct mounting arrangement on the cabinet side.
Use the hardware maker’s current model instructions to select drilling patterns, attachments, adjustments and clearances. For example, Blum publishes several CLIP top attachment methods and separate installation instructions. Keep the instructions for the actual article number with your trial; a similar-looking fitting may use a different fixing arrangement.
Reference: Blum: CLIP top assembly and installation information.
Build the sample around the critical fixing
Send the workshop a drawing that includes the real edge distance, recess, fastener holes and visible face. Mark left and right parts, face and edge fixing, the thickness measurement stage and the locations to inspect. Prepare enough of the part to reproduce the fitting and surrounding support.
Identify the actual board model and lot before cutting. Measure thickness near the proposed fixing, then record the tool, pilot diameter, deepest hole, screw engagement and installation settings. Include the drill-point depth where it affects the remaining section. Record the screw’s actual engagement in the board after the hardware and any spacer, rather than using its overall length as the engagement.
Keep the dimension stage consistent
Distinguish the raw substrate, machined component and coated or laminated part. If a recess is drilled after finishing, measure its depth from the same finished surface used for the local thickness measurement. If it is drilled before finishing, retain that substrate datum and record the later coating build-up separately.
For plywood, record the core and layer arrangement at the recess. For MDF, record the board grade. Test the fitting in the material you plan to buy.
Compare the material, then evaluate the complete cabinet
Choose the question before running the trial. To compare board response, keep the fitting, permitted installation method and evaluation conditions consistent. If each board uses its own revised fixing setup, compare those complete installation systems and record the changed setup with each result.
Scroll horizontally to compare all columns.
| Trial record | Conditions | Decision it supports |
|---|---|---|
| Board A / setup P00 | Record the board, fitting, pilot and installation procedure; use the agreed checks. | Establish the reference assembly and its observations. |
| Board B / setup P00 | Use the same setup only where the fitting instructions permit it for both boards. | Compare board response with the controlled conditions identified. |
| Board B / revised setup P01 | Identify the revised pilot or fixing method and repeat the relevant checks. | Select a revised board-and-installation combination for the cabinet. |
Check fit, installation and performance in use
First record recess fit, seating, visible damage and fastener installation. Then evaluate the assembled component using the duty, loads, operating sequence and acceptance criteria selected for the intended furniture. Record the actual door dimensions and weight, including fitted components, hinge positions, clearances and the cabinet support.
Have the responsible designer or test provider set the relevant performance procedure and limits before comparing results. Record movement, loosening, damage and function at the prescribed inspection stages. Count parts completing the required sequence separately from parts still under evaluation or awaiting rework.
For hinge quantity and position, use the selected hardware system’s planning data with its stated door geometry and weight conditions. Blum’s planning information relates hinge quantity to front height and weight and identifies a front-width basis for its chart. Keep those conditions with the selected fitting rather than taking a hinge count from a door photograph.
Reference: Blum: hinge-system planning information.
WORKED BUYING EXAMPLE
Check the material remaining below a blind recess
Chosen dimensions for a geometry calculation; set the actual drawing limits with the hardware maker and designer.
A planning drawing uses an 18 mm nominal panel and a 12.8 mm target recess. For this calculation, the chosen local thickness bounds are 17.3–17.5 mm and the chosen deepest recess bounds are 12.6–13.0 mm, measured from the same surface and at the same component stage.
Scroll horizontally to compare all columns.
| Calculation | Remaining section | Next check |
|---|---|---|
| Nominal starting estimate | 18.0 − 12.8 = 5.2 mm. | Use this to understand the drawing, then review local measurements and limits. |
| Chosen lower-thickness / deeper-recess envelope | 17.3 − 13.0 = 4.3 mm. | Compare with the requirement selected for the actual board, fitting and cabinet design. |
| Difference from the nominal estimate | 5.2 − 4.3 = 0.9 mm less remaining material. | Review whether the proposed machining and local gauge satisfy the selected requirements. |
What this means for the order
The 4.3 mm result is the calculated section for these chosen bounds. Obtain the allowable recess and remaining-section requirement for the actual fitting and material, then measure representative parts. Carry the accepted drawing limits and machining revision into the order.
Use paired thickness and depth measurements at each trial location to describe the actual part. A conservative envelope combines the chosen lower thickness and upper depth for planning; it may differ from the measured remaining section at any individual hole. Check the deepest feature, including a drill point where relevant, and keep the measurement datum explicit.
Try a new fastener on a fresh assembly sample
The base comparison uses the same permitted fitting and setup on boards A and B. A new pilot or attachment proposed for B becomes a separate revision. When a combination meets the agreed checks, retain the board, fitting, drilling and finish references together.
Shortlist the substrate your cabinet detail needs
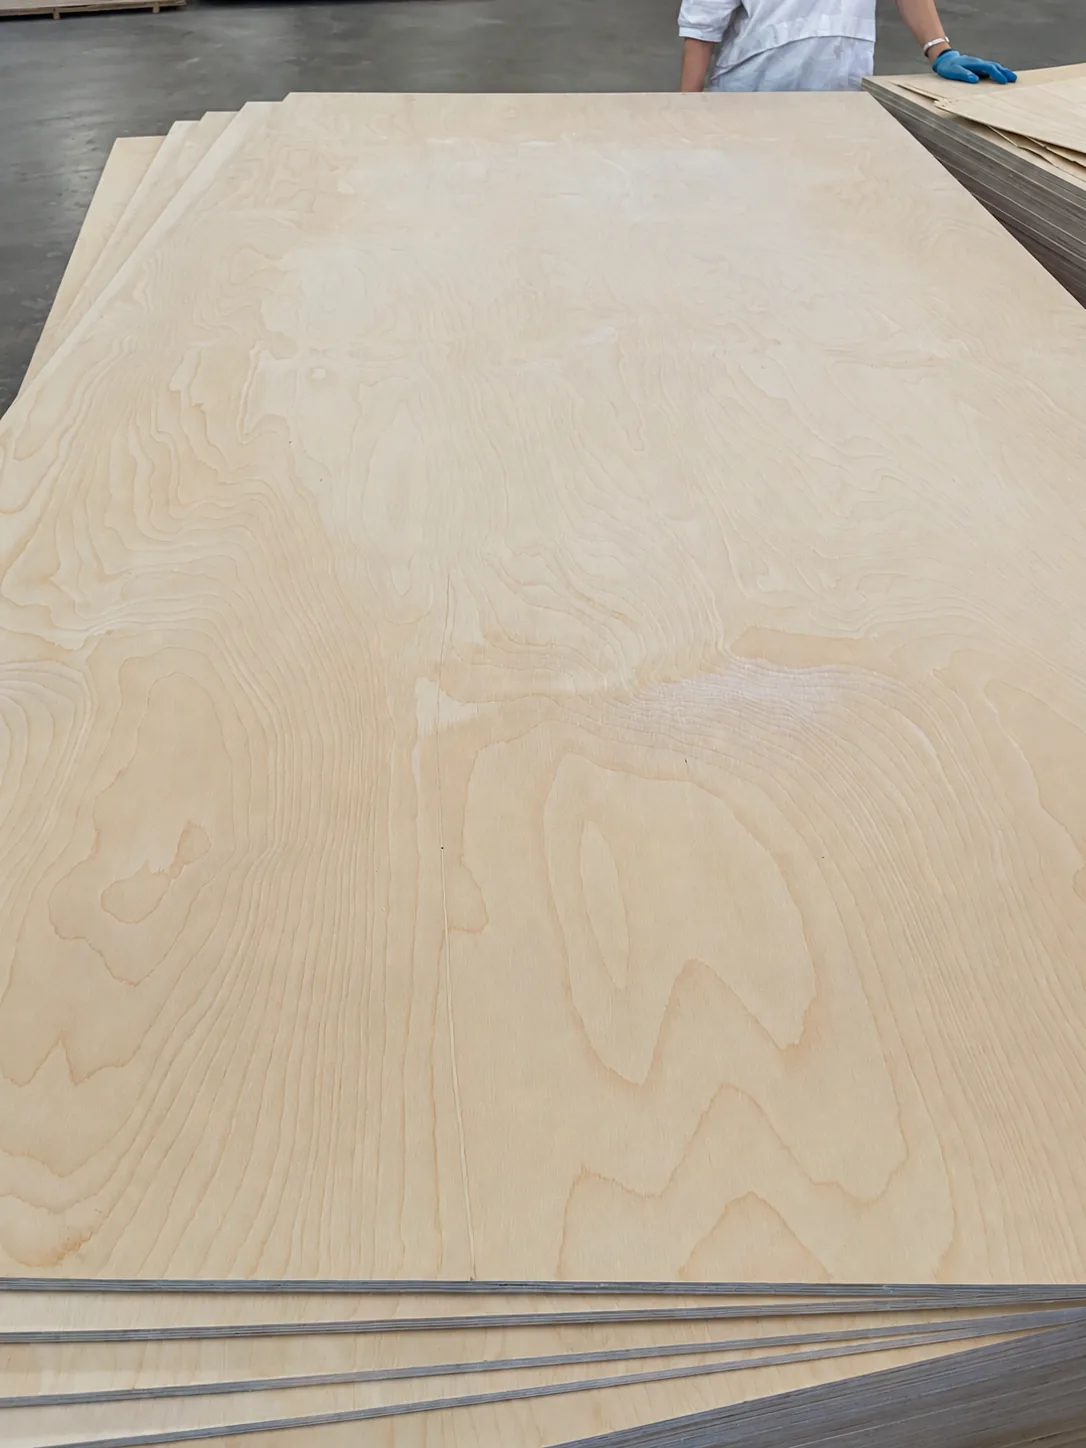
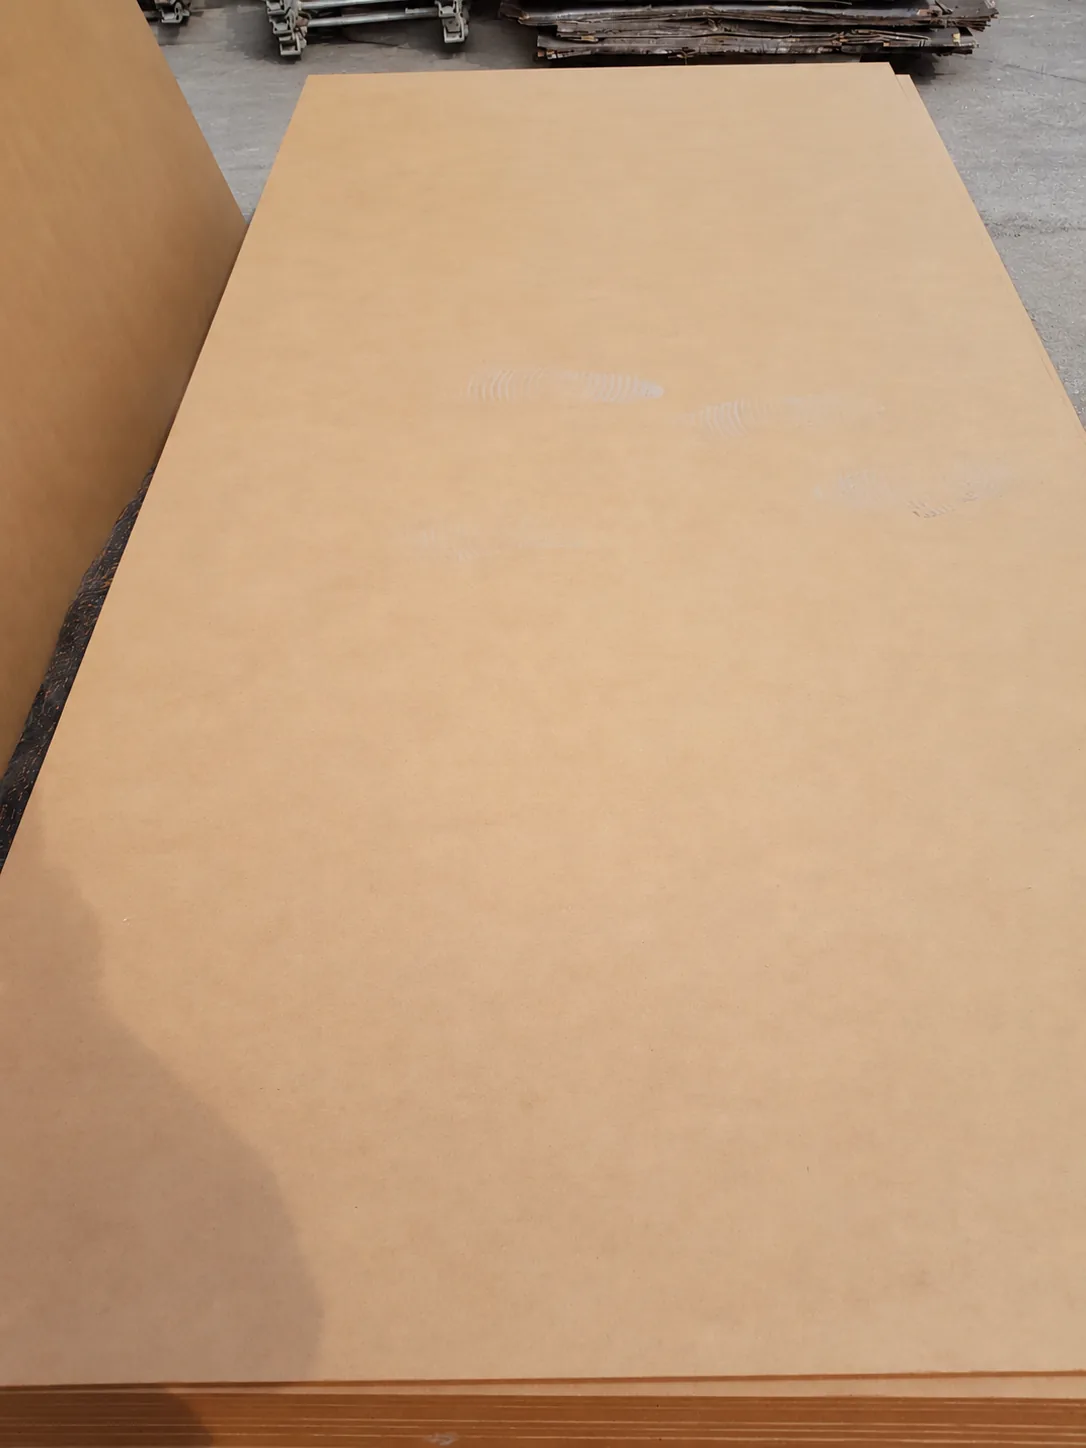
Start with Plain MDF for a painted or routed cabinet part and Birch Plywood for a birch veneer face or exposed layered edge. Plain MDF is available in 2.5–35 mm; Birch Plywood in 3–30 mm with poplar, birch or eucalyptus cores. Select the actual gauge and construction around the part drawing and hardware trial.
Compare cost per accepted installed part
Use the same finished drawing and supplied operations for each option. Add the allocated panel cost, machining, finishing, fitting installation, trial-related rework and agreed disposal or recovery adjustments. Divide by the parts completing the required acceptance process. If hardware is included in one quotation, include it on the same basis in the other.
Keep development trials, production estimates and measured production results as separate records. A cheaper sheet can still require a different drilling process or more installation time. Equally, a higher-priced panel may offer no saving for a cabinet detail already suited to the original board.
Send a trial brief with the sample request
Attach the door and side-panel drawing, hinge and plate article numbers, screw or connector reference, machining revision and intended evaluation. Include the critical recess or fixing arrangement in the requested component. Ask for the proposed board model information alongside the material sample.
After selection, carry the accepted combination into the order line. Revisit the affected checks when the board model, core, gauge, fitting, pilot, finish stage or installation procedure changes. Continue with changes that require a new component trial.
Keep these details with your inquiry
- Board model, construction, gauge and lot for the door and cabinet side.
- Finished drawing, viewing face, handed parts, local thickness and measurement stage.
- Hinge, mounting plate, screw or connector article numbers and current installation instructions.
- Pilot, recess, deepest hole, actual engagement, fixing positions and installation settings.
- Door dimensions and complete weight, hinge positions, surrounding clearances and cabinet support.
- Evaluation procedure, specified limits, observations, accepted quantity and selected assembly revision.
Review the relevant product guide and prepare your inquiry files.
Questions buyers ask
Can a face-fixing result stand in for an edge fixing?
No. Face and edge fixings have different material orientation and engagement conditions. Keep the actual fixing location and orientation in the trial specification. Evaluate the proposed edge or face arrangement using the relevant method and installation instructions.
Should I compare only the screw pull-out number?
No. Screw withdrawal is one measure; it does not establish the performance of the complete hinge or cabinet assembly. Use withdrawal results for the defined fastening question, then include the fit, installation and complete-component checks required by the cabinet design. Retain the screw type, engagement, fixing location and method with each result.
Is nominal panel thickness enough for a blind hinge recess?
No. The recess must be checked against the actual local thickness and required remaining material. Review local thickness and the deepest machined feature at the correct component stage. Use the same measurement datum, calculate the remaining section and compare it with the requirement for the actual material and fitting.
Can I change the pilot for one board during a comparison?
Yes, when the hardware instructions permit it, but the changed pilot defines a different fastening setup. Record the changed pilot as a separate trial revision. A consistent permitted setup supports a controlled board comparison; different permitted setups support comparison of the complete installed combinations.
What changes need a new hardware trial?
Review changes to board model, core, local gauge, fitting, fastener, recess, pilot, coating stage and installation procedure against the selected assembly. Repeat the affected checks and identify the new accepted revision before carrying it into production.
How large should the hardware sample be?
Request enough of the actual component to reproduce the critical recess, edge distances, fastener locations and surrounding support. Use an assembled door and cabinet arrangement where the agreed evaluation requires it.