On this page
BUILD THE PANEL AROUND YOUR FINISHED PRODUCT
Understand how plywood is made. Buy the construction you need.
The plywood manufacturing process turns prepared wood veneers into a bonded panel through drying, grading, lay-up, adhesive application, pressing and finishing. Each purchasing decision belongs somewhere in that sequence: the face your customer sees, the core your cutter exposes, the bond your application needs and the thickness your fittings depend on.
A smooth sheet and a competitive price are a starting point. A useful proposal also identifies the complete construction, finished dimensions and relevant product data. This guide helps furniture, interior and construction buyers connect a production discussion with a specification they can compare, sample and order.
Start from the finished part and follow its requirements back through the layers and processing. A visible edge, a fitted groove and a facing each need an identifiable construction and delivered dimension. Keep those details beside the quantity and destination so the manufacturing discussion leads to an order your workshop can use.
From a veneer sheet to a panel ready for your workshop.
The US EPA's plywood manufacturing process description follows log preparation, veneer cutting and drying, gluing, hot pressing, trimming and finishing. Veneer production and panel assembly may take place at different facilities. For your order, identify the proposed producer and any separate facing, cutting or finishing operation.
Use the sequence to organise your supplier conversation. First define the component and service conditions. Then agree the construction and finishing scope, review the proposed data and test the detail that determines whether the panel works for you.
Follow the material through the assembly route.
- Prepare and cut veneer. Log preparation and peeling or slicing provide the veneer sheets.
- Dry and select. Drying and grading prepare veneers for their assigned face, back or inner-layer roles.
- Lay up and apply adhesive. The selected layers, grain sequence and bonding system form the panel assembly.
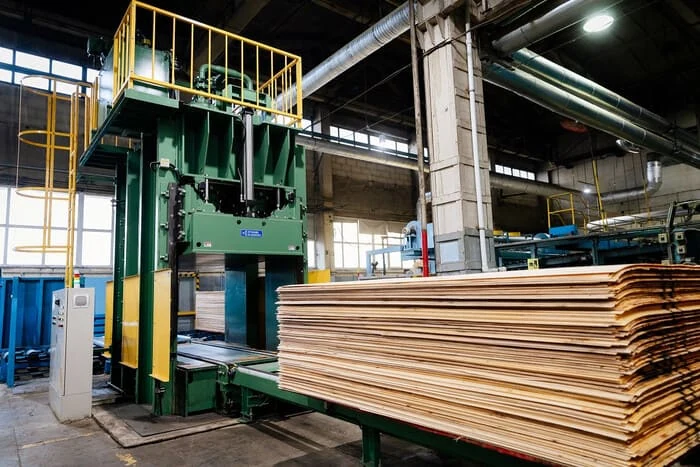
- Press and finish. Pressing bonds the assembly; trimming and the specified sanding prepare the delivered panel.
Use the actual producer and product specification to identify the route behind an offered item. Keep any later facing, machining or coating operation identifiable as part of its delivered scope. The sequence helps organise questions; product and inspection records describe what is proposed for the order.
Choose the visible face and the working core separately.
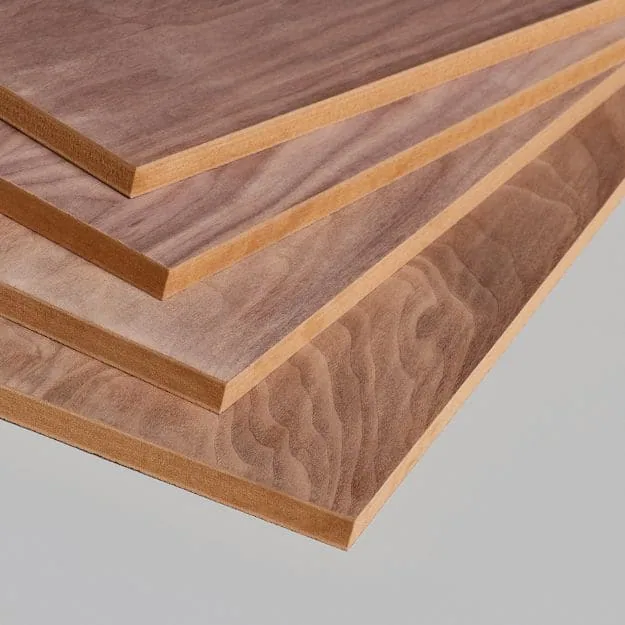
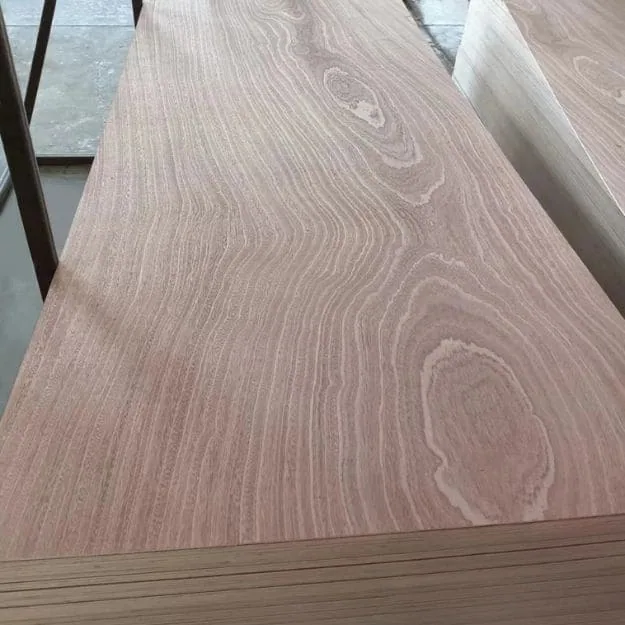
Veneer can be rotary peeled or sliced, then dried and selected for its role in the panel. A face intended for clear finishing raises different appearance questions from an inner layer or a hidden cabinet back. Put the species and appearance requirement beside the surface that needs them.
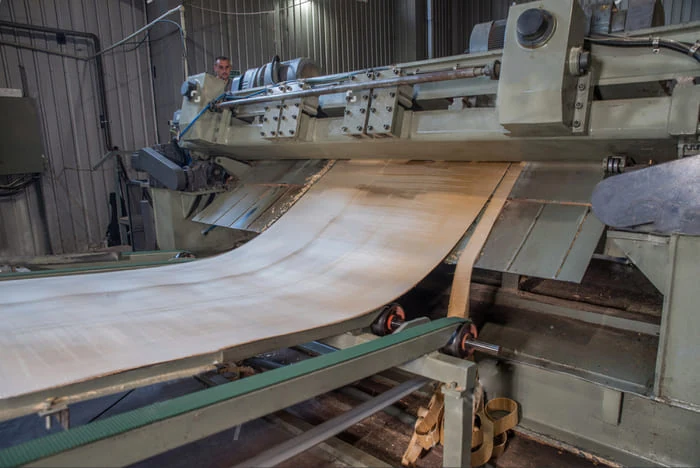
For a furniture face, bring the grain, colour, repair and finishing reference. For the core, bring the exposed edge, routed pocket, fastener or joint that must work. An approved face photograph helps describe appearance; a cut working sample helps evaluate the internal construction.
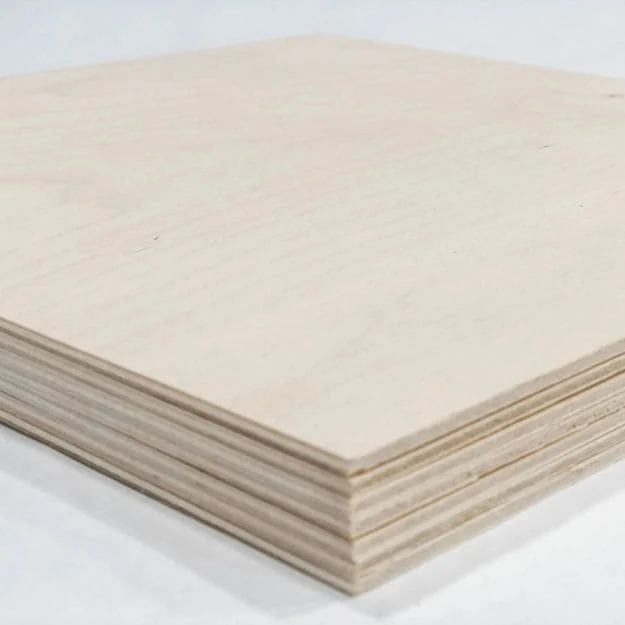
CUZI offers Commercial Plywood and Birch Plywood with poplar, birch or eucalyptus core choices. State the complete construction when comparing them. The birch-faced versus all-birch guide explains how to distinguish a birch surface from birch throughout the panel.
For BB/CC or C/D, agree the grading basis and permitted repairs with the face/back reference. Use the face and back grades guide to allocate appearance requirements across visible, partly visible and hidden furniture components.
Keep preparation and appearance criteria separate.
Identify the face/back species, permitted appearance and finishing reference with the selected veneers. Request moisture and preparation information relevant to the proposed bonding and panel specification. Put any agreed defects, repairs and viewing locations on the item so a clear-finished face and a concealed inner layer have their own criteria.
Use the cut or routed component to inspect the location that becomes visible or carries the fitting. Retain the layer schedule and the actual part geometry with that observation. A face photograph gives an appearance reference; the complete specification identifies the material behind it.
Make the veneer schedule part of the product description.
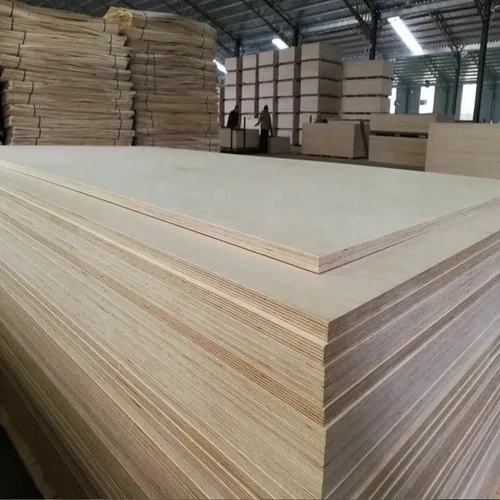
APA's plywood overview describes cross-laminated veneers bonded under heat and pressure, with performance depending on the layered construction and direction of use. For purchasing, request the species, veneer gauges, layer order, grain directions and finished thickness of the proposed panel.
Those details make an exposed edge or a CNC trial repeatable. Mark the sheet's long direction on the cut list, identify the face of the finished component and show critical joints or fittings on a drawing. Discuss any required symmetry and the permitted gaps, overlaps or repairs in the proposed construction.
A higher ply count alone leaves several questions open: how thick are the veneers, which species appear in the inner layers and what happens at the cut edge? Evaluate those details through the core gaps and ply-count inspection guide, then keep the selected construction with the sample code.
Where the panel carries a structural load, specify the required product designation and performance documentation with the design conditions. The Structural Plywood route lets you discuss the application, thickness, direction and supporting documents for the proposed product.
Give the grain sequence a drawing reference.
Mark the direction of the face grain and the sheet's long axis on the schedule. Identify the inner grain sequence and veneer gauges at the quoted thickness. For a joint or profile, show where the feature falls in the completed section so its trial uses the material the drawing will expose.
If a proposed alternative changes the core species, gauges or layer arrangement, keep its schedule under a separate material code. Use the same component drawing and finishing criteria to compare the result. Retain any required product properties with the direction and conditions to which they apply.
Connect the bond with the conditions of use.
Adhesive is applied during assembly; hot pressing consolidates the veneers and cures the bonding system. The EPA process description explains that press conditions vary with species, resin and equipment. Request the bonding and performance information for the panel model you intend to buy.
Bring the actual environment into the discussion: a dry furniture interior, protected site use, repeated wetting or permanent outdoor exposure. Specify the required bonding standard and class with the test method and product identity. Review plywood bond classes and WBP terminology before comparing quotations.
Record formaldehyde emission requirements separately, including the destination and applicable method. CUZI's Commercial and Birch ranges offer E0 or E1 options; the US and EU emission documents guide helps build the destination-specific document request.
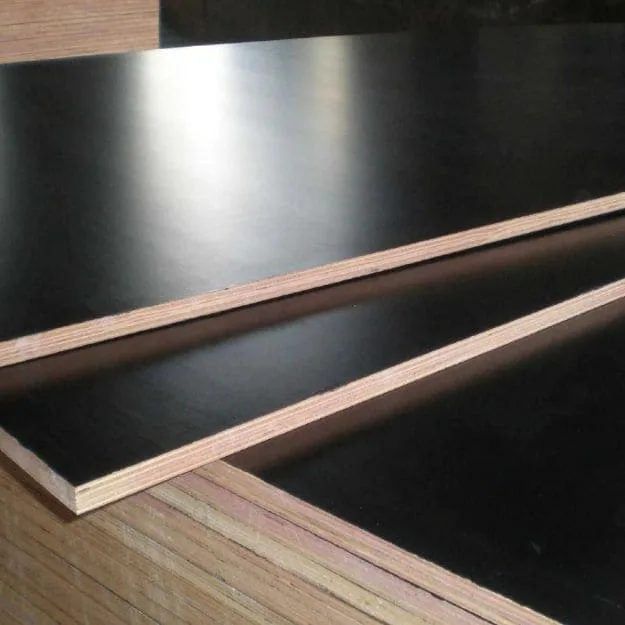
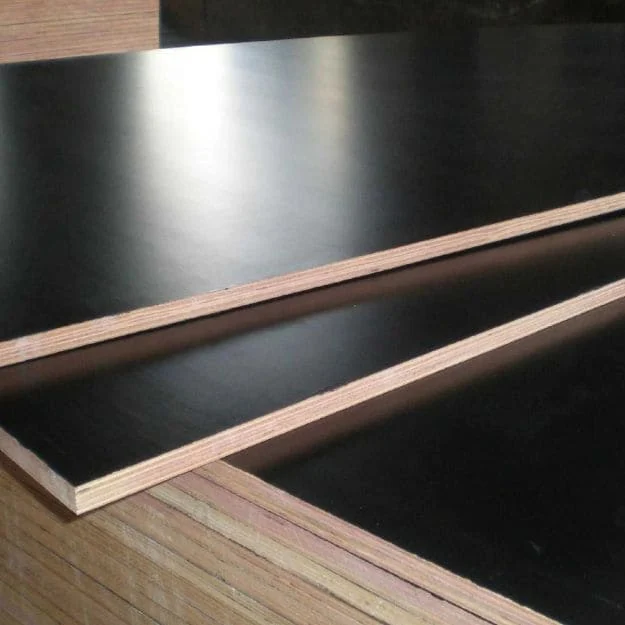
For a film-faced formwork board, include the core, film colour and weight, single- or double-faced construction, reverse and edge treatment. Review Film Plywood and Shuttering Plywood against the proposed use and required reports.
Request the outcome for the selected panel.
Keep the offered bonding system and process identity with the actual veneer construction. Ask for the product-specific method and result needed by the intended use. State the bond designation, service requirement and destination file separately from the visible face grade.
For a faced panel, identify the surface material, adhesive arrangement where applicable, reverse and edge treatment with its substrate. Review any change of face or core against the corresponding product file. A named process or resin is one part of that construction description.
Define the sheet as it reaches your production floor.
Trimming and sanding bring the pressed panel to its supplied dimensions and surface. Put nominal thickness, required finished tolerance, face preparation and any further coating or facing into the purchase line.
A groove, rebate or fitting may depend on measured thickness after finishing. For a clear-coated surface, compare the supplied face with the coating process you actually use. For an exposed edge, inspect the cut, sanding and finish together. Keep the approved preparation and any additional workshop work in the sample record.
Agree where and under what conditions dimensions will be measured, how many sheets or points are checked and how results will be recorded. Use the thickness and tolerance measurement plan for the dimensional check, and the cutting-list and grain-direction guide for the finished part.
State which face veneer thickness matters.
A veneer gauge before pressing and sanding and the remaining face thickness on the delivered board are different buying references. As a chosen arithmetic example, a 0.60 mm face with 0.10 mm removed has 0.50 mm remaining before other dimensional effects. These numbers demonstrate the field to define, not CUZI veneer or sanding tolerances.
Request the remaining face thickness under its agreed measurement basis where the finish or profile depends on it. Include delivered thickness and the local fitting geometry too. Keep the measured reference with the drawing and the preparation needed to achieve the chosen appearance.
Turn each production stage into a useful buying question.
Scroll horizontally to compare all columns.
| Stage | Question for the proposal | Keep with the item |
|---|---|---|
| Veneer selection | Which species and appearance belong on the face, back and inside? | Face/back grading basis, repair and grain references; full species schedule. |
| Drying and preparation | What moisture and measurement conditions apply to this panel? | Proposed condition, method and relevant measured values or ranges. |
| Lay-up | Which veneer gauges and grain directions form the panel? | Construction schedule, layer order and agreed internal-quality limits. |
| Bonding and pressing | Which bond and emission requirements cover the proposed product? | Product designation, standards/classes where required, test methods and reports. |
| Sanding and sizing | What finished fit and surface will reach the workshop? | Dimensions/tolerances, finish scope, sample code and drawing revision. |
| Inspection and packing | How do the checked items connect to the delivered bundles? | Item/lot references, inspection summary, sheet counts and packing list. |
Prioritise the questions that affect your component. A hidden cabinet back, visible shelf edge and formwork face may need different trials and documents. Agree the checks, sampling and acceptance limits for each item before the order moves into production.
Keep comparison, production and receiving aligned.
Scroll horizontally to compare all columns.
| Stage | Material reference | Record to retain |
|---|---|---|
| Compare proposals | Face/back, core schedule, bond, dimensions and delivered processing. | Alternative item codes, drawing revision and relevant data. |
| Select the working part | Cut edge, fitting, profile and finished face used in the trial. | Selected material, measurements, process and appearance reference. |
| Produce and dispatch | Agreed construction and any identified changes. | Item/lot checks, documents, bundle identification and quantities. |
| Receive and reorder | Delivered item matched with the purchase reference. | Receiving observations and the retained construction/finish for the next order. |
Agree which checks are relevant to each item and when the results are needed. Keep a material or process change readable beside the affected reference so the next delivery follows the selected construction.
Choose the product route, then complete its construction.
Scroll horizontally to compare all columns.
| Product route | Available options | Complete in your request |
|---|---|---|
| Commercial / Birch | 3–30 mm; poplar, birch or eucalyptus cores; BB/CC or C/D; E0 or E1. | Face/back species and grading basis, full lay-up, finish and relevant bond/emission methods. |
| Film Plywood | 4–30 mm; poplar, birch, eucalyptus or mixed core; brown, black or red film; 90–240 g/m²; one or two faces. | Construction, film specification, reverse, edges, intended use and required performance data. |
| Shuttering Plywood | 9–30 mm, with the confirmed film, core and facing choices above. | Formwork use, concrete finish reference, edge/site treatment and trial requirements. |
Regular plywood formats are 1220 × 2440 mm, 1250 × 2500 mm and 1525 × 3050 mm. Requested formats include 1220 × 3050 mm, 1250 × 3660 mm and other project dimensions. Confirm the required format with the product, thickness and finishing scope in the quotation.
For decorative furniture, compare Fancy Plywood with the veneer, matching, single- or double-face and finish you want. For wet-service or load-bearing work, bring the relevant exposure or design requirement into the product selection.
Calculate the facing scope before the material quantity.
Area calculation assumptions: 100 panels with a chosen pre-trim rectangle of 1260 × 2480 mm and a finished rectangle of 1220 × 2440 mm. Both faces use a chosen applied-material input of 180 g/m². These figures illustrate area accounting, not a quoted pre-trim format or finished-panel weight.
Scroll horizontally to compare all columns.
| Rectangle basis | One panel area | 100-panel area | Two faces at 180 g/m² |
|---|---|---|---|
| Before trim: 1260 × 2480 mm | 3.1248 m² | 312.48 m² | 112.49 kg |
| Finished: 1220 × 2440 mm | 2.9768 m² | 297.68 m² | 107.16 kg |
The rectangular area difference is 0.1480 m² per panel and 14.80 m² across the 100-panel input. Finished area is 95.26% of the chosen pre-trim rectangle. The unrounded double-face material-mass difference is 5.328 kg.
Identify what the declared g/m² covers in the offered facing specification. Obtain actual facing formats, processing allowances and purchase quantities from the selected route. Adhesive, substrate, packing and other layers outside that mass basis remain separate when estimating a complete sheet or shipment.
Request a technical package that follows the selected model.
Make the document request specific enough to use in purchasing. Name the proposed panel, construction, thickness and application; identify the producer and any further processing source. Match the records to those details and the tests your destination or design requires.
Scroll horizontally to compare all columns.
| Package item | What to connect | Buying decision it supports |
|---|---|---|
| Product specification | Producer/model, veneer schedule, grade, finish, dimensions and agreed limits. | Compare proposals for the same intended component. |
| Relevant test data | Product identity, method, conditions, result/class and the required application. | Review bond, emission or specified mechanical performance. |
| Working sample record | Sample code, construction, drawing, tools/finish, measurements and observations. | Choose the panel that works in your workshop trial. |
| Order inspection record | Item/lot, sampling, agreed limits, measurements, appearance and any agreed corrective action. | Check the supplied items against the purchase specification. |
| Packing and shipment file | Sheet counts, bundle references, weights, protection and named delivery terms. | Reconcile the purchase lines at dispatch and receiving. |
Review CUZI's company background and company and plywood documents for supplier qualification. Keep each document's holder, product and scope with your purchasing file. For a factory visit, agree the relevant facility, operations, panel model and records to review before arranging travel.
Link every result to the construction it describes.
Retain the producer/model, gauge, layer schedule and finished scope with a submitted test or inspection record. Keep method, conditions, selection and applicable criterion readable. Ask which records address the proposed material and which will identify the supplied lot.
Use the purchase item and bundle reference to connect those files at receiving. Record dimensions, quantities, appearance or condition against the agreed checks before releasing panels into the workshop sequence. Keep a changed veneer, facing or process with its affected item and relevant review.
Let a working sample turn the specification into a decision.
Choose a representative part rather than a general surface swatch. A cut edge, hinge pocket, routed profile or formwork face makes the manufacturing discussion practical. Include the drawing, preparation and acceptance check with the sample request.
| Decision | Include in the trial brief |
|---|---|
| Construction | Birch face/back; compare poplar inner layers with birch throughout all inner layers. |
| Appearance and fit | Required face/back grade and permitted repairs; finished thickness/tolerance; groove or fitting drawing. |
| Workshop trial | Actual cut, routing, fitting and finish; record the result beside each sample code. |
| Purchase file | Selected construction, relevant methods/data, quantities, destination and agreed inspection/packing. |
For a model-specific technical package, choose the proposed product:
Samples are free; buyers pay freight, with a freight credit available for a later order by agreement. Orders start at one container, with mixed loads available. Regular production is 10–15 days, with shipping additional. Send your item quantities, named FOB or CIF port and target receiving date to plan the order.
Questions buyers ask about plywood manufacturing
What are the main steps in plywood manufacturing?
Veneer preparation and drying are followed by selection, lay-up, adhesive application, pressing, trimming and finishing. Connect those stages with the proposed face/back, core construction, bond, finished dimensions and item records.
Does a birch face mean the whole panel is birch?
Specify the inner layers as well as the face/back. CUZI's birch range offers poplar, birch or eucalyptus core choices. For an all-birch proposal, request birch throughout every inner veneer layer and the face/back, with the full veneer schedule.
What should I ask about the lay-up?
Request species, veneer gauges, layer order, grain directions and finished thickness. Include the grading and internal-quality limits required by your component, and evaluate the relevant cut edge or machining detail in a sample.
How do I specify the bonding requirement?
Describe the intended exposure and required product designation, standard/class and test method. Keep the applicable report with the proposed construction. Include emission requirements and destination documents separately.
How should I check finished thickness?
Agree the tolerance, measurement method/conditions, points or sheets to check and the finished or further-processed state. Record measurements with the item and sample references, then trial the actual groove or fitting.
Which production records are useful for a purchase?
A model-specific specification, relevant test data, working sample record and agreed item/lot inspection summary help connect the proposal with the delivery. Include packing references, sheet counts and shipment terms for receiving.
Can I arrange a factory discussion or visit?
Send the proposed product, construction and operations you want to review. Agree the relevant facility, responsible team, visit scope and documents with CUZI before making travel arrangements.
Can I compare samples before ordering a mixed container?
Yes. Request the relevant construction and workshop trial, then keep the selected sample code and complete specification with each item. Orders start at one container and can mix panels; send quantities by product, thickness and format for an FOB or CIF proposal.